Few tools are needed to complete a clean installation of FRP on any surface and produce high-quality results. Tools required for installing FRP include:
- Using electric shears to cut and smooth the panel edges
- To cut the moldings, use a miter saw or aviation snips.
- To place the molding on the drywall, use an electric stapler.
- A drill and a hammer for rivet installation.
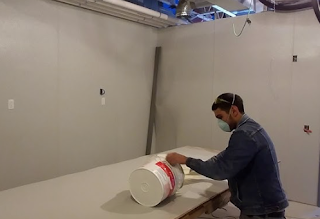
- Applying adhesive using a notch trowel.
FRP can be installed on almost any dry and stable surface. Therefore, it must dry before installing the panels.
Installation of FRP Over Drywall
You must use a mastic adhesive in order to install FRP over drywall. You can then secure them with fasteners. Then, use metal staples to install molding between the panels, creating a continuous surface. Finally, you will use a silicone caulk to seal all the moldings.
FRP installed over another type of surface
Using a water-based mastic adhesive, these can be placed over painted drywall or wood surfaces. Installation over glossy, bumpy, or non-flat materials, such as concrete block or ceramic tile, requires the use of an oil-based adhesive. If the glue creates an effective connection, rivets are not necessary. For substrates such as tile or block, moldings can be glued or installed with mild steel nails.